In a previous lesson we created clay bird sculptures, using a basic pinch pot for the body before carefully adding wings, beaks and other detail with score and slip.
It will be a few weeks before our clay birds are bisque fired and ready to add finishing touches with paint, feathers and twine.
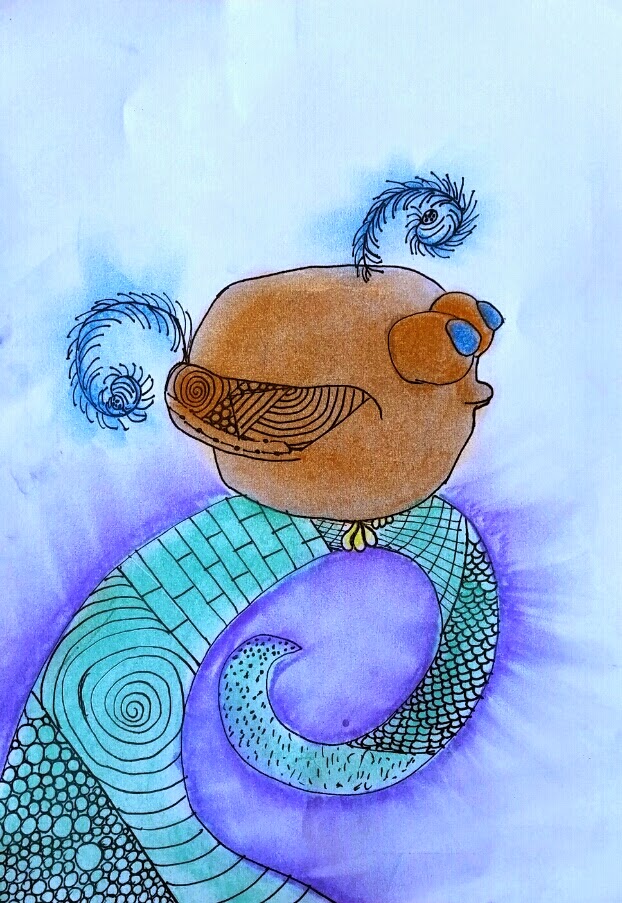
This week we considered our art in 2 and 3 dimensions as we worked with manipulated photos of our clay birds. We started with black marker to pick out detail and to add interesting backgrounds, trying to imagine what our finished birds will be like with feathered topknots and tails. The next step is using 4B pencil to add areas of light and shadow, creating the impression of 3 dimensions in our drawing.
Finally we added colour with soft pastel, paying particular attention to layering and blending the pastels for interesting textures and depth of colour.
 |
| Hannah |


